This is my medieval poster, as you can see, there are the coat of arms and my medieval castle made in SketchUp. You can see my coat of arms and castle post below this post. I did this in class together with my classmates and instructor. We edit it a bit like putting shadows and glows. I also add labels on my castle. I used the fonts are Matura MT script and Forte. I tried to make the labels as small and less as I can so it doesn’t look weird. To be honest, I think it would be better if there are no labels for the castle. Thought some other people also agree with me and others who don’t ready get bothered by it. I think I have enjoyed making this poster because we can share and show each other our work. I think other people make it so nice and creative like my classmate beside me. Her work is so cool. 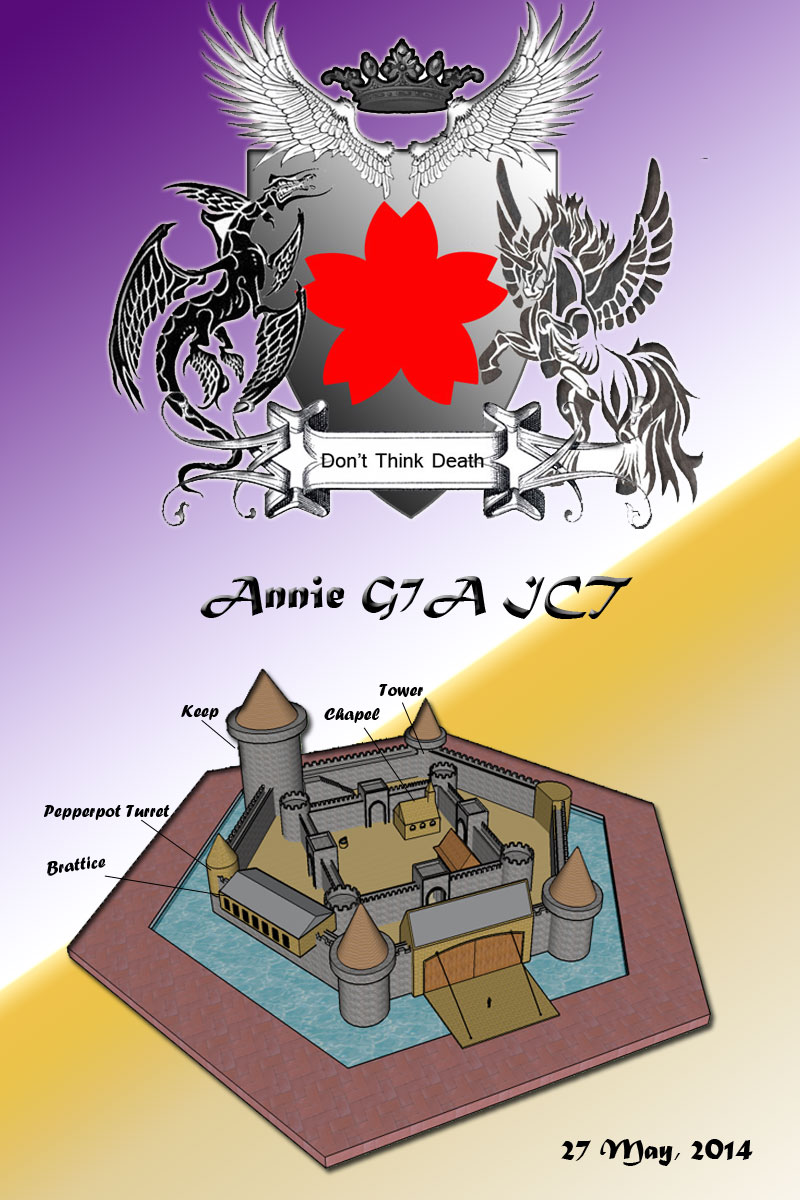
Coat of Arms
This is my coat of arms. I made this using Photoshop, putting different pictures together to make a coat of arms. As you can see the animals I put in are a dragon and a Pegasus. The Pegasus represents poetic genius and intelligent, but the dragon represents valor and protection. The shield color is silver and white, which means peace and sincerity, moreover, in the shield there is a flower (lets say its a Cinquefoil), which means hope and joy. The crest of the coat of arms is a crown, which means royal or seigniorial power. The wings I put is the wreath. The wings represent swiftness and protection. My motto is “Don’t think death”. It means, don’t always think about death, because it is not the answer, we will have to live as we want. Basically my coat of arms describes my family as intelligent, protection, valor, peace and joy with royalty.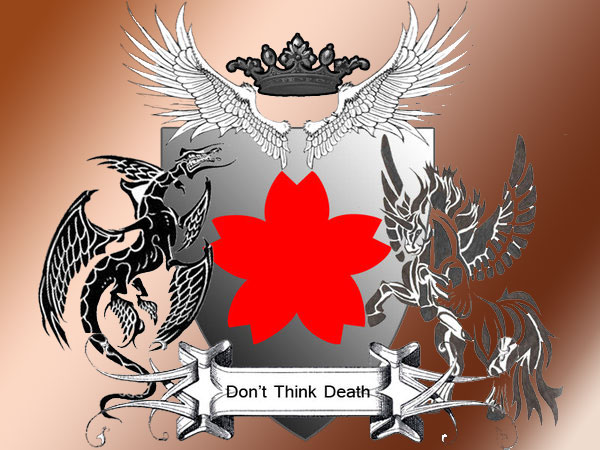
3D Medieval Castle (Final)
This is the last and final work of my medieval castle. It was really hard to make, so this took me pretty long time to complete it. I try to estimate and imagine about the measurements of this castle. I made this castle this way is all because it is easy for me. Since I am a beginner in sketchup, I shouldn’t just think about how fancy or cool my castle will be. So that is why my castle is very simple. There were a lot of errors in this project. What I think is the castle might be a bit too big, if you can see, the human is so tiny.I tried my best to make the parts obvious what it is, especially the towers and the keep. My most favorite thing about this is the drawbridge, because it looks so cool when I make it. However the least thing I like here is the towers and the keep, because it looks weird and the design is too simple and not so nice looking. 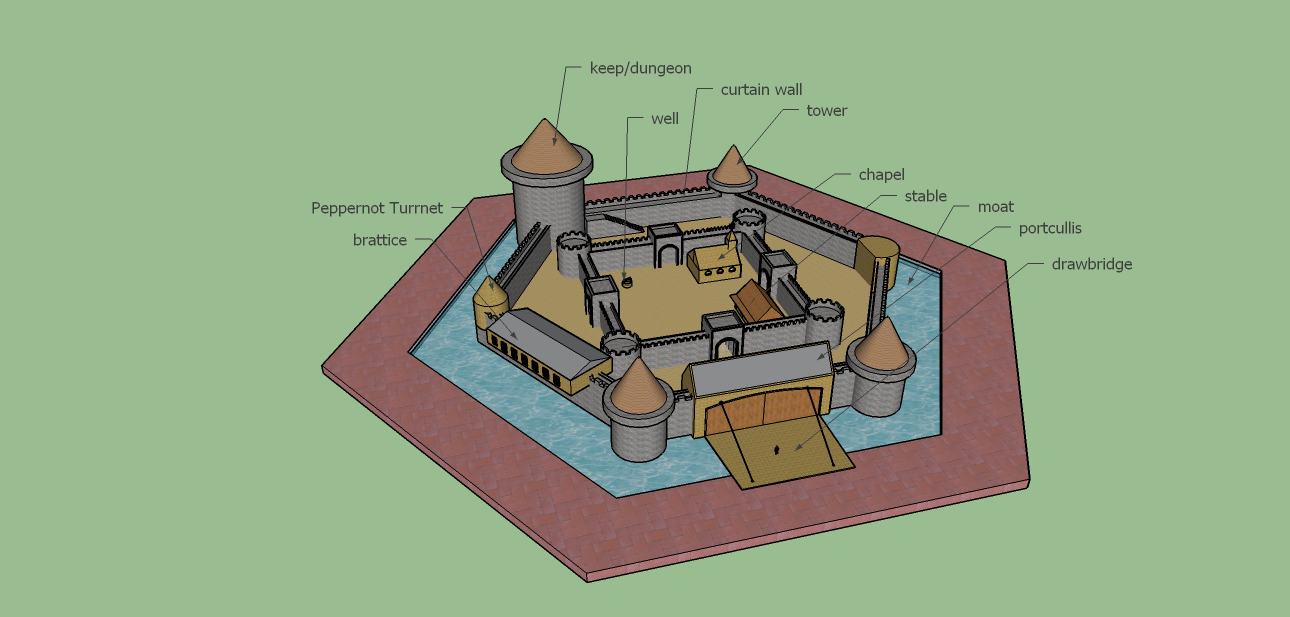
Medieval Castle (Second Draft)
This is my second draft for my medieval castle. As you can see, I added the outer wall for the castle. I also added towers and a keep for the outer wall. The big cylinder like the towers, it is the keep or dungeon.There will be other things made later in the castle such as the drawbridge with portcullis,chapel, stables, watch tower, battice a stairs. I tried to be creative for the towers, try to make it look fancy or something like that. But unfortunately I made it looking so simple because then I feel it is just easier for me to do it that way. So I was thinking to make the keep the same design as the other towers in the outer wall of the castle. 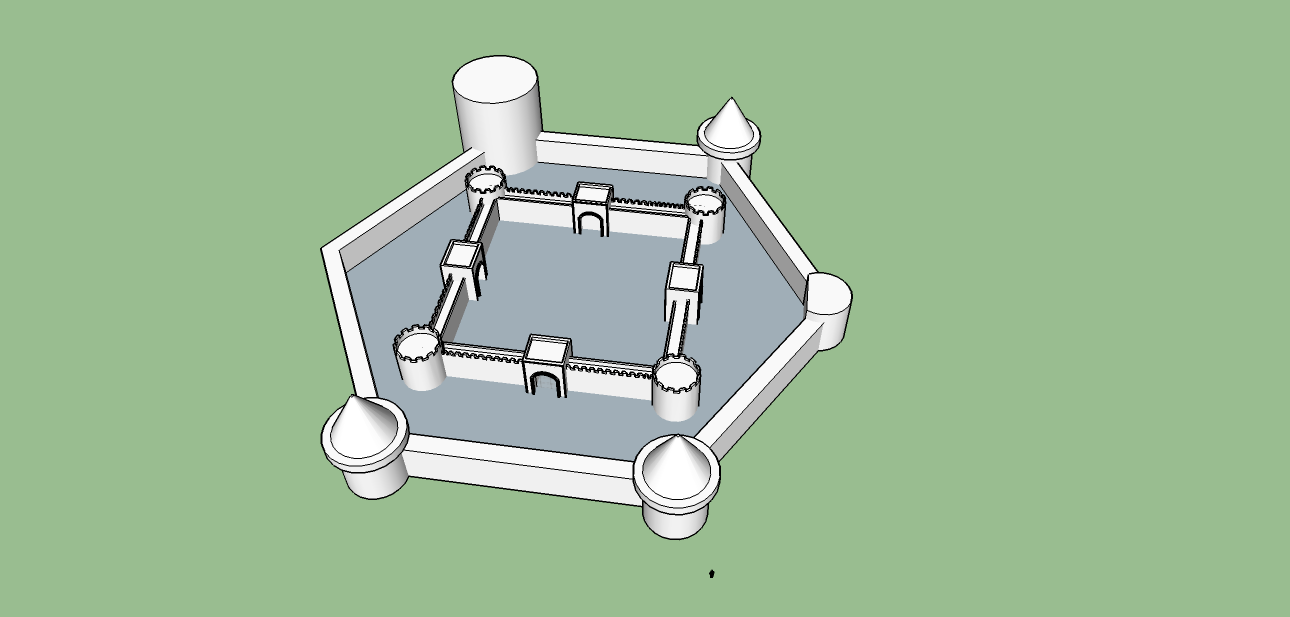
3D Medieval Castle (First Draft)
So, this is my medieval castle I made after the Classroom (church). This is just a draft though. This time I made this by following my instructors tutorial video. I also had hard time making this castle because it was really hard to read out the measurements from the video tutorial. But I managed to get through this hard work. I also had a hard time doing the walls where are are the gaps. It was really confusing and takes a long time to do it because I need to do the wall one by one (and the wall is so long). I guess this castle draft look fine enough. But the outer wall will come together later.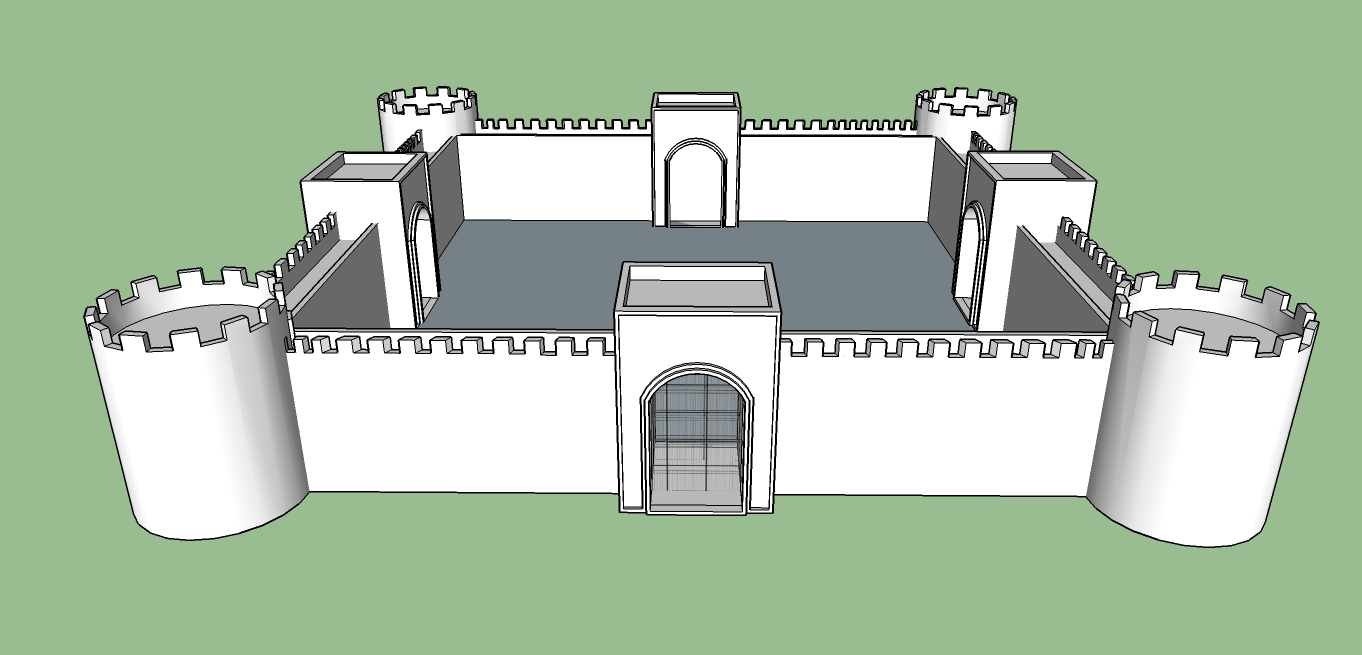
SKETCH UP: Room 217 (Week 6)
Back again, with my completed classroom and I am laughing at my own sketch up work. As you can see the picture below, my classroom became a church. What a surprise! It turned into a church because we are learning something new for our next project, medieval castle. We learned to pull the point from the base of a shape up wards and form a point at the end like the cone shape. The structure next to my “church” is meant to be a tower. I accidentally made it really big. Anyways, good luck to me for making the castle.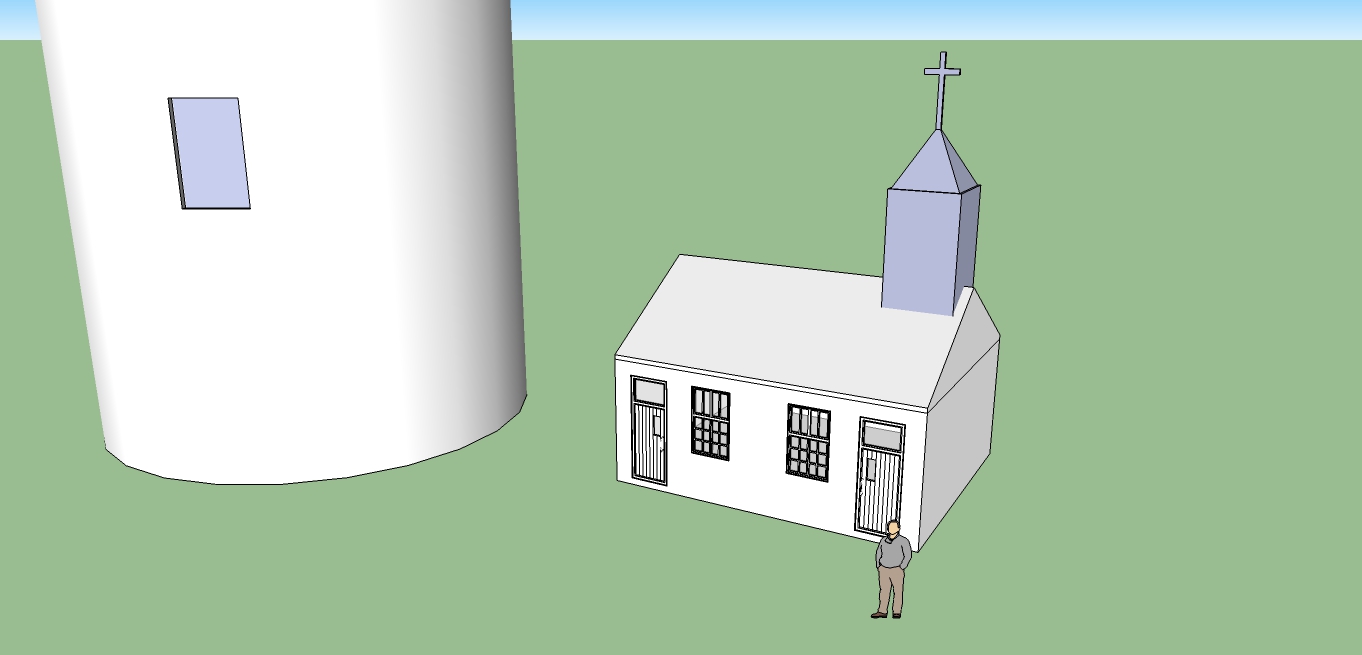
SKETCH UP: Room 217 (Week 6)
Back again,with my completed classroom and I am laughing at my own sketch up work. As you can see in the picture of my sketch up work, it does not look like a classroom anymore. Well, it turned into a church. We will be making a castle in sketch up next so we learned something that can help us a lot on the castle. We learned to pull the base of the shape and make a point to it like the pointy part of a cone. The structure next to the “church” was actually a tower. I accidentally made it really big. Anyways, good luck to me for making the castle.
SKETCH UP: Room 217 (Week 5)
Like every week, I worked on my Sketch up for the classroom. This time, I worked on the doors. Luckily, I was able to complete the doors in one week unlike the windows which takes up a whole long time and its really confusing. The doors, on the other hand are surprising more easier to make than the windows. Using the process to make the windows, it helped me make the doors as well. But I also learn a few new things while making the doors, I learned to lock the movement by different axis by pressing the arrows from the keyboard. I also learned making a slant face; you can see from the small windows on the door. I used the follow me tool for the door handle. To save time from making another door because the two different door handles are different sides, I use the technique flip. In addition, when I successfully completed the doors and put them to the room, I have this proud feeling busted out (if you know what I mean)- basically I was really happy. 😀 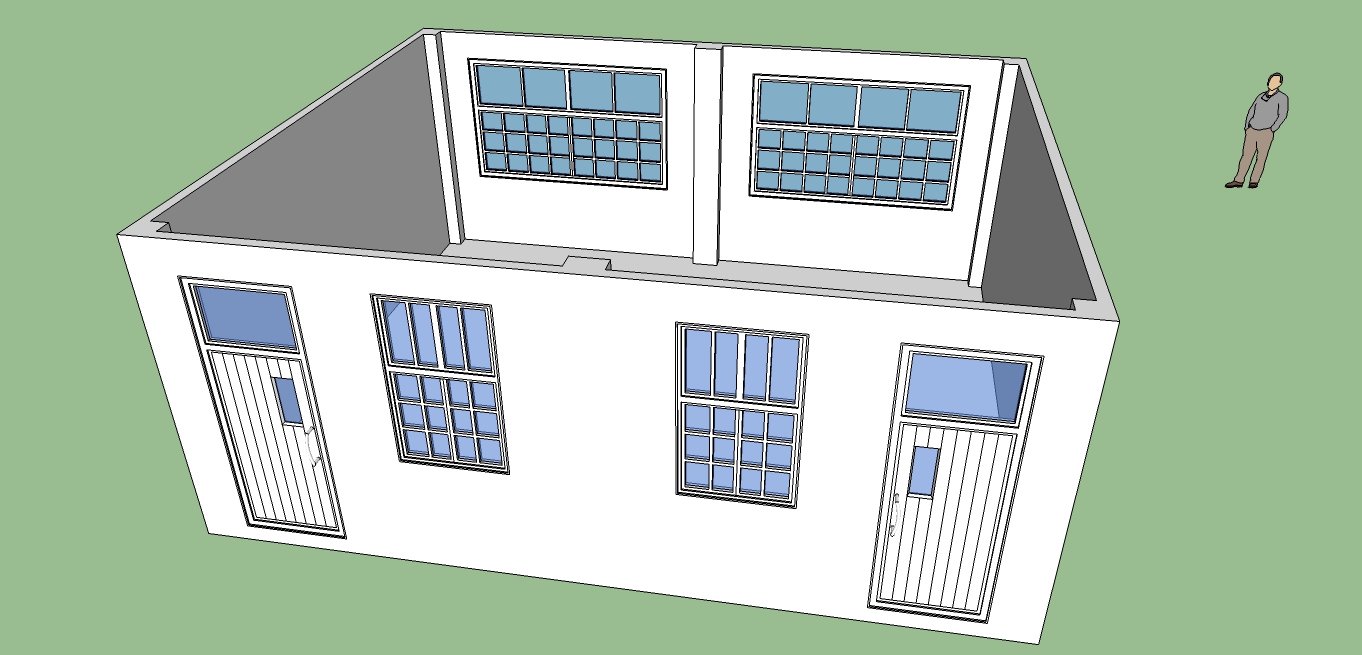
SKETCH UP: Room 217 (Week 4)
This week, we continued working on the windows, moreover, I finished all the windows, finally (yay!!). We learned using the technique called make component. The technique make component really makes the lives of people using sketch up much easier, because instead of making an object again and again, we can just make it a component and paste it. We make a component of half of the window and then paste the component and put them together into a complete window with transparent glass added in between. For the smaller window that we later make, I actually made it myself at home as for homework. I did the same thing how I made the bigger window. However I did have hard times remembering the order of what to do without an instructor telling instructions. But I managed to complete the windows successfully. Although I completed all the windows, I still need to make the door. I am looking forward to complete the whole classroom soon. Here I come Sketch Up!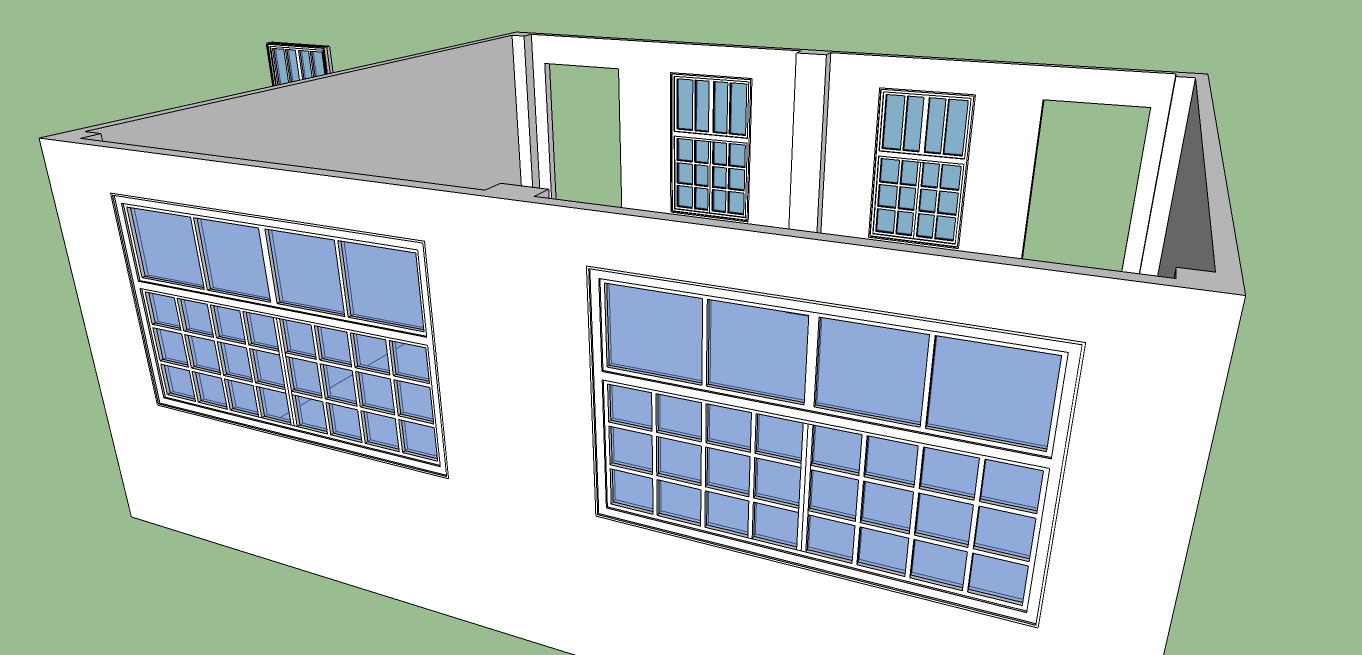
SKETCH UP: Room 217 (Week 3)
This week, we worked on the windows. To measure inches, we use our fingers. We tried to make the windows more realistic by making a lot of layers like how it is in real life. To make the window panels, we divide the panels from the middle and then make each side half again until we get the number of window panels we want (which is eight) and the size will be equal. We also use the divide tool/technique to divide the line into segments to make the panels for the window. There was of course errors when we did the window. We forgot to put one more layer before we separate the panels so we had to delete all the panels we did and we have to put the missing layer and do the panels again, sadly. However I successfully completed the window as in dividing for the panels. 
