This week, we continued working on the windows, moreover, I finished all the windows, finally (yay!!). We learned using the technique called make component. The technique make component really makes the lives of people using sketch up much easier, because instead of making an object again and again, we can just make it a component and paste it. We make a component of half of the window and then paste the component and put them together into a complete window with transparent glass added in between. For the smaller window that we later make, I actually made it myself at home as for homework. I did the same thing how I made the bigger window. However I did have hard times remembering the order of what to do without an instructor telling instructions. But I managed to complete the windows successfully. Although I completed all the windows, I still need to make the door. I am looking forward to complete the whole classroom soon. Here I come Sketch Up!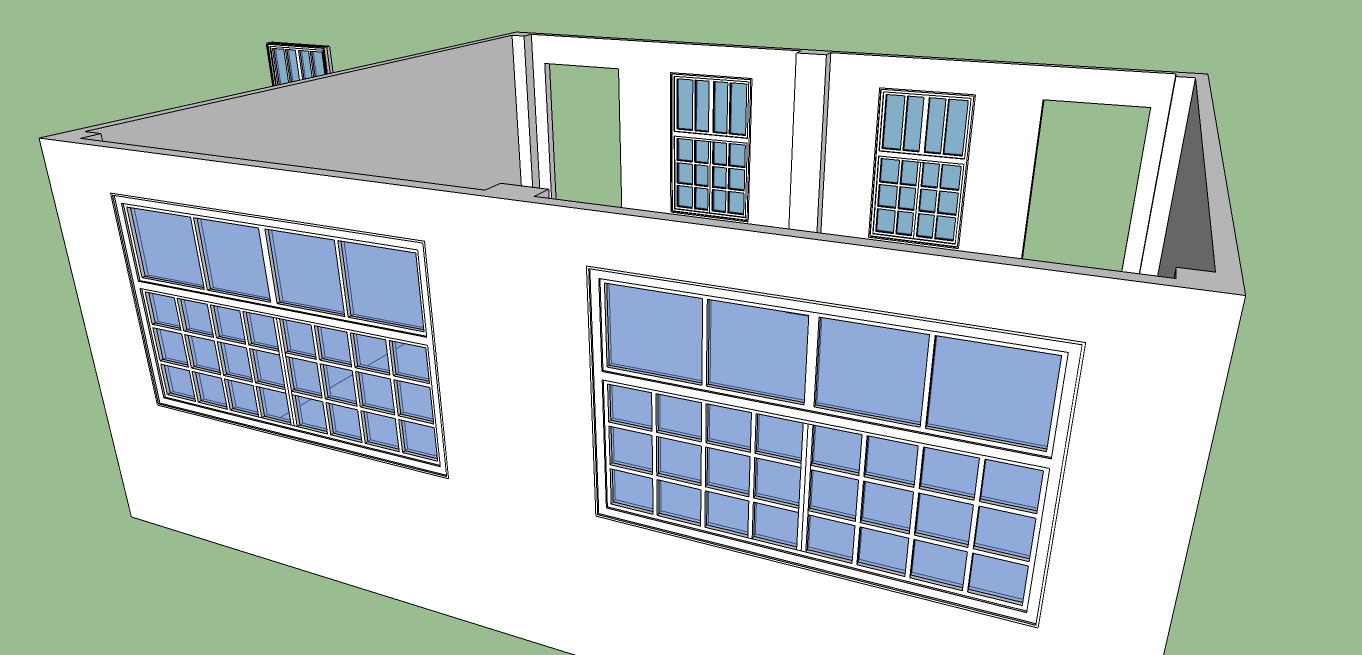
Month: March 2014
SKETCH UP: Room 217 (Week 3)
This week, we worked on the windows. To measure inches, we use our fingers. We tried to make the windows more realistic by making a lot of layers like how it is in real life. To make the window panels, we divide the panels from the middle and then make each side half again until we get the number of window panels we want (which is eight) and the size will be equal. We also use the divide tool/technique to divide the line into segments to make the panels for the window. There was of course errors when we did the window. We forgot to put one more layer before we separate the panels so we had to delete all the panels we did and we have to put the missing layer and do the panels again, sadly. However I successfully completed the window as in dividing for the panels. 
SKETCH UP: Room 217 (Week 2)
This is my second week working on this sketch up of my classroom. We tried our best to estimate the measurements in the classroom which includes the windows and the doors. We used the tape measure to guide lines for the windows and doors. We used the push/pull too to take out the face of the windows and the doors. Then we use move tool to move the wall for a window to move it out and we will make a detailed window and put it back. So this picture shows my progress, as you can see the windows and doors are “gone” but it will be back with details soon. Again, I am looking forward to complete the windows and doors. 😀 
SKETCH UP: Room 217 ( Week 1)
We are now working on sketch up. Sketch up is usually for making three dimensional objects on the computer. We are making a model of our class room. This week we only made the floor. Though its just a floor, its not as simple as you think. We need to make something like and outline of how the class room will look like. Since our classroom has pillars we also have to put that into the floor before pulling the floor to make walls. In this class I also learned some shortcut keys for changing tools. We used the exact measurements for the sketch up. I’m looking forward for pulling the walls of the walls and completing the model.
